
You can enable auto submit feature on a given workflow, by specifying certain conditions for auto submit. A background process runs every 2 hours which will submit the articles to the workflow that meet the criteria.
Step 1: Enable Auto Submit Settings
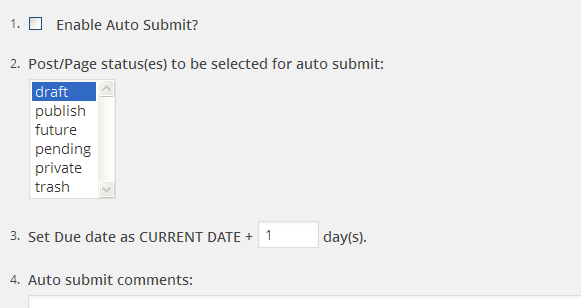
- Go to Workflows –> Settings –> Auto-Submit Settings
- Enable Auto Submit.
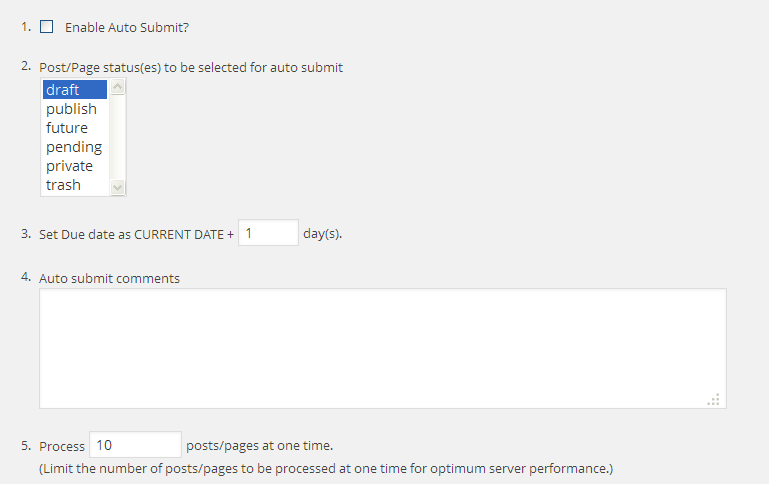
- Select the post/page statuses that should be picked up for auto-submit.
- Specify the due date for the initial submit.
- Add any comments to be added as part of the auto-submit
- Specify the number of posts/pages to be processed during one cycle.
- Save the settings.
Step 2: Enable Auto Submit settings on a given workflow.
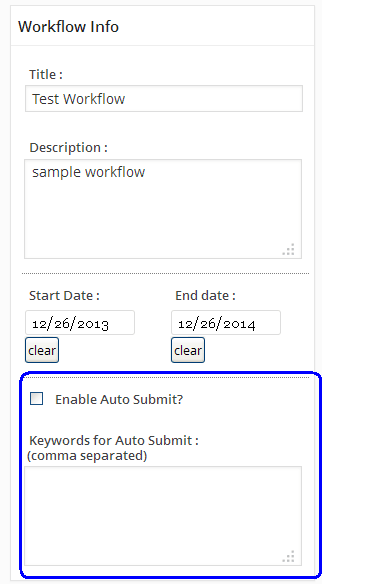
- Edit the workflow – Workflows –> All Workflows –> Select the workflow for auto-submit.
- In the workflow, enable “auto-submit”.
- Specify the keywords for submitting a given post to this particular workflow. The keywords will be scanned in the post title.
How does auto-submit work?
Once the auto submit settings are saved, an automated process will run every 2 hours, scan for articles that meet the criteria and are not yet in any workflow.
The keywords are scanned in the title of the post/page and if the post/page are in the specified status, they are submitted to the relevant workflow.
You can trigger auto-submit manually for one time by clicking “Trigger Auto-Submit – Just one time” on the Auto-Submit Settings page.